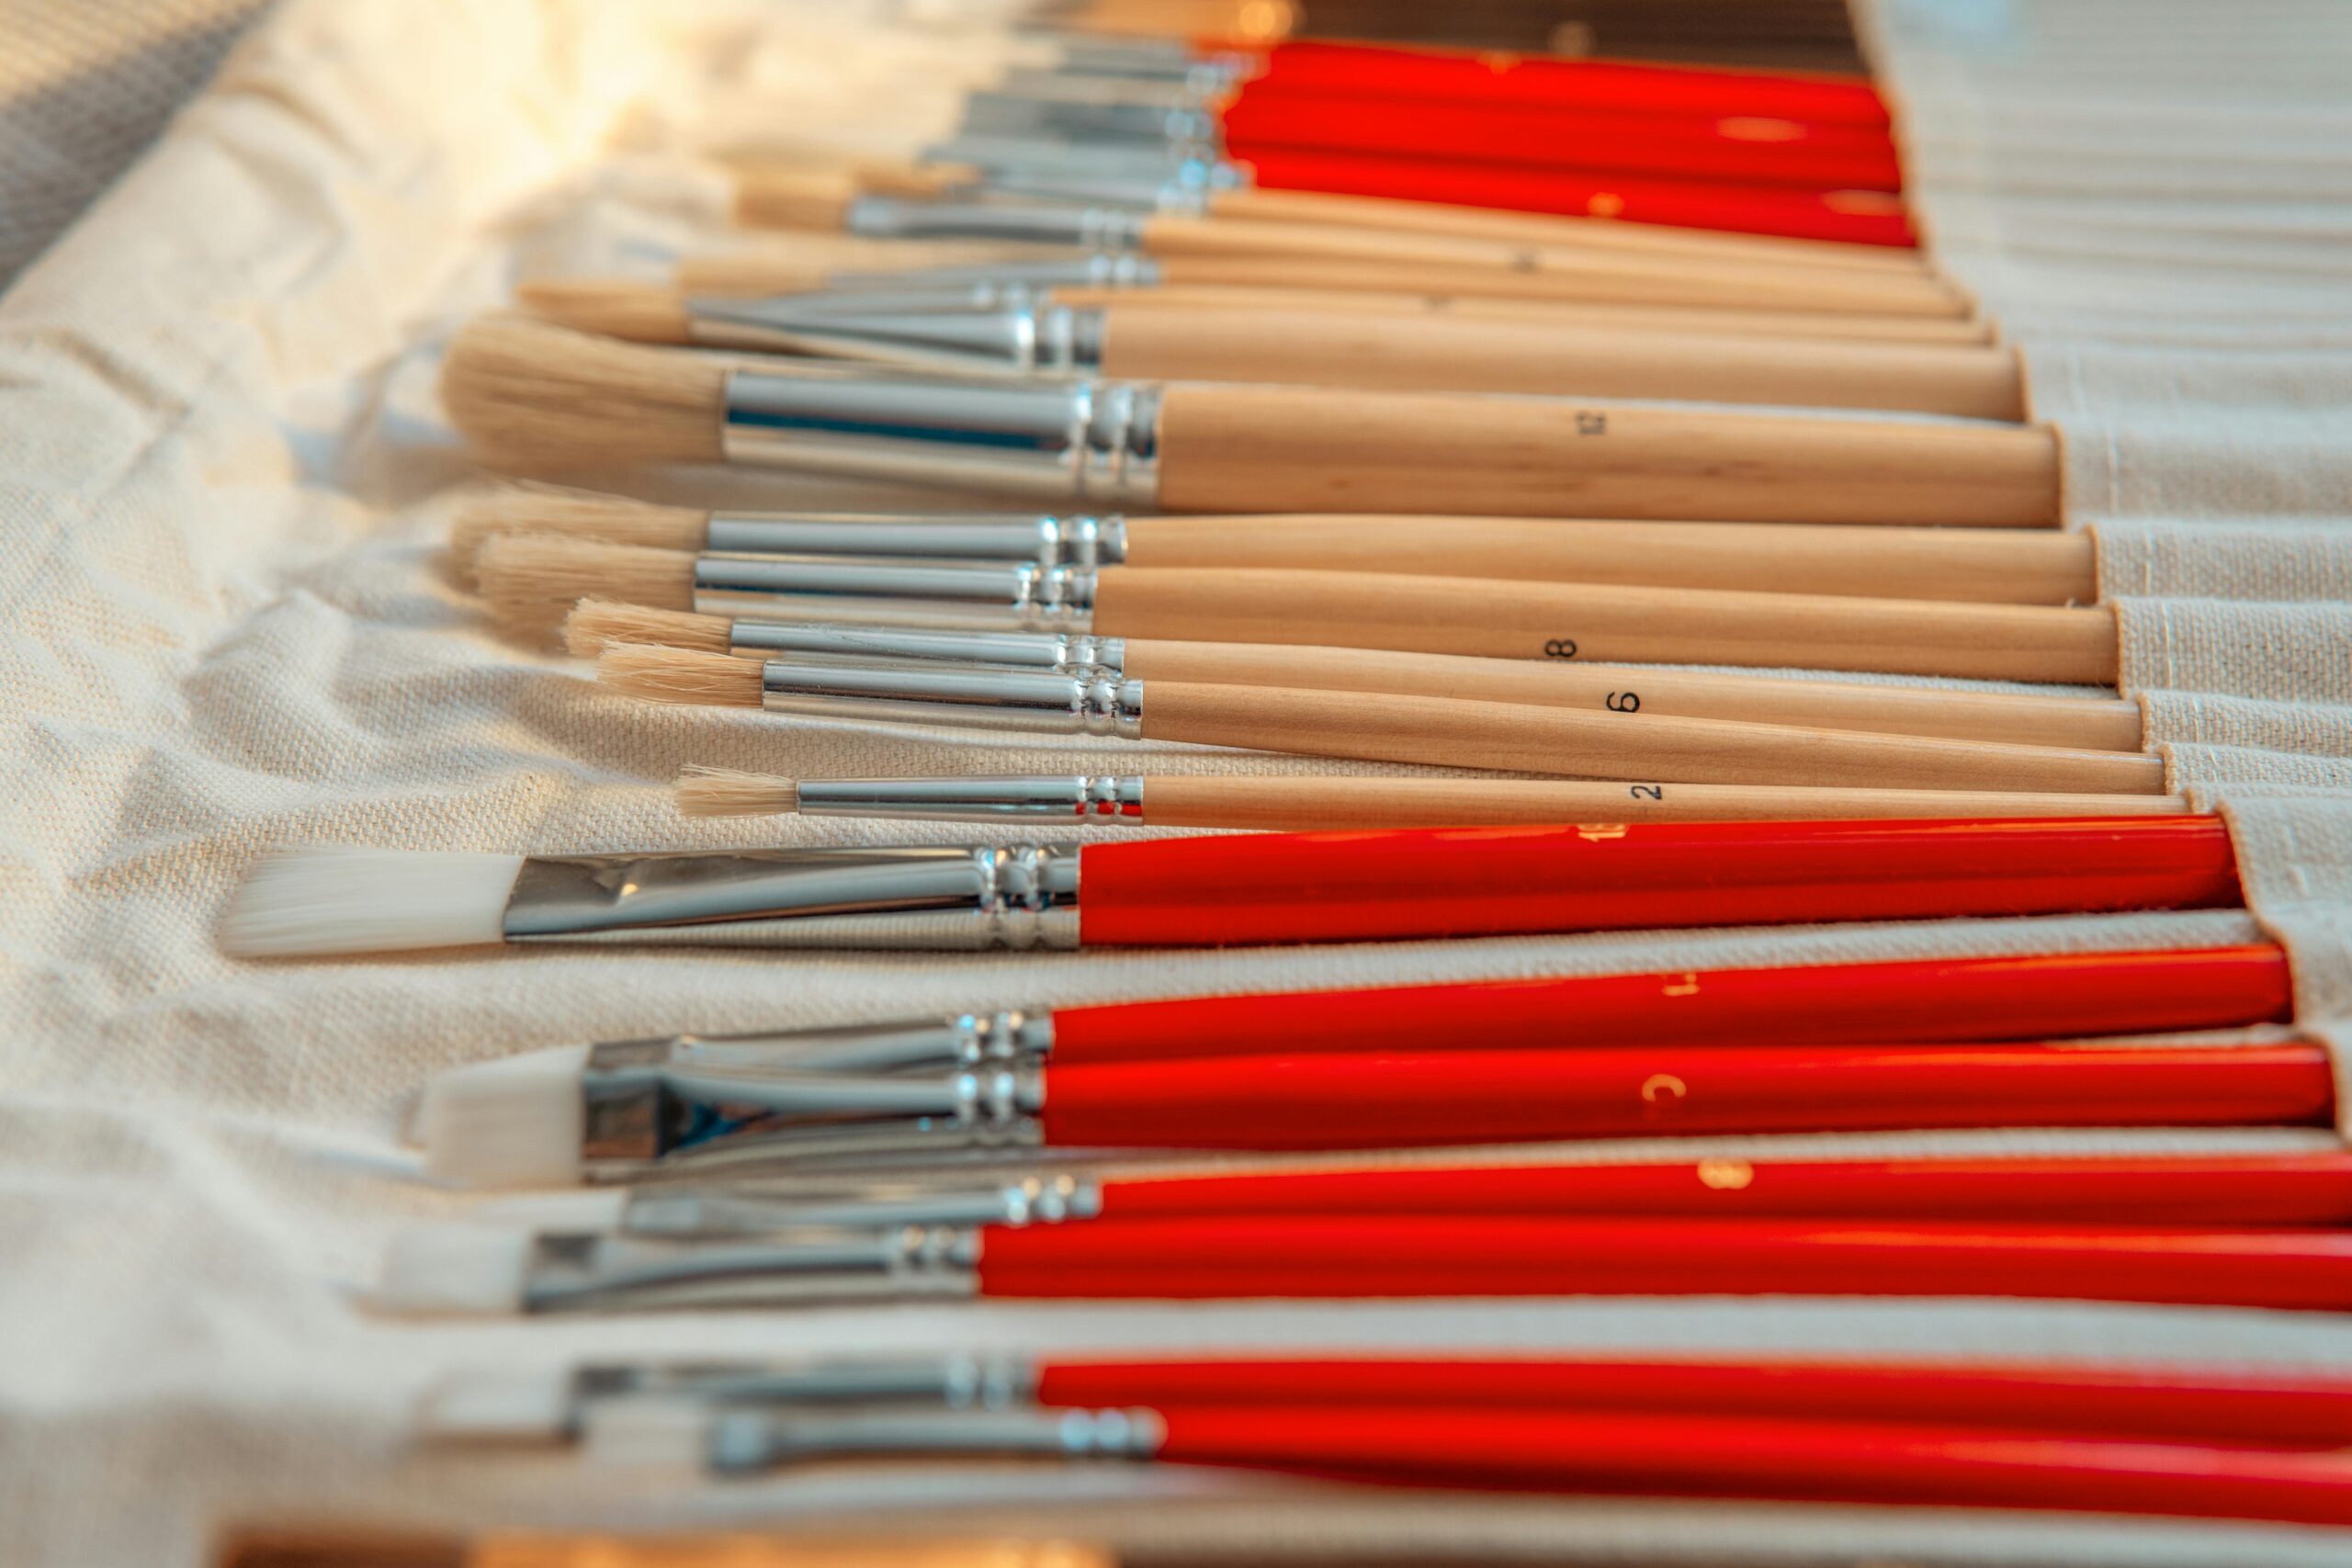
Knowing how to clean oil paint brushes is crucial for any artist using oil-based mediums, ensuring both the longevity of the brushes and the purity of colors in their artwork. This guide explores effective cleaning techniques and best practices to help artists maintain their brushes in top condition. Whether you’re a beginner or a seasoned painter, these tips will enhance your painting experience and the quality of your art.
Understanding Oil Paint and Brush Care
Why Proper Brush Cleaning is Essential
Oil paint is a preferred medium for many artists due to its versatility and the depth of color it provides. However, oil paints can be tough on brushes, with their thick, sticky consistency and the need for solvents for thinning and cleaning. Over time, if not properly cleaned, the residue can damage the bristles and ruin the brushes. Effective cleaning of oil paint brushes involves removing this paint without damaging the bristles, thus extending the lifespan of these essential tools.
The Anatomy of a Paint Brush
To clean oil paint brushes effectively, it’s important to understand their structure. A paintbrush consists of bristles (natural or synthetic), a ferrule (the metal part that holds the bristles), and a handle. The cleaning process must protect all these parts to keep the brush functional.
Preparing to Clean Your Brushes
Immediate Post-Painting Practices
The best time to clean your oil paint brushes is immediately after you finish painting. Wiping off excess paint using a rag or paper towel minimizes the amount of solvent needed for cleaning and reduces the exposure time of the bristles to harsh chemicals.
Setting Up Your Cleaning Station
Choose a well-ventilated area to avoid inhaling fumes from solvents. Equip your station with all necessary materials: solvents (like turpentine or mineral spirits), soap (specifically designed for cleaning paint brushes), and several containers for washing and rinsing.
Step-by-Step Guide to Cleaning Oil Paint Brushes
Removing Excess Paint
Start by wiping as much paint as possible from your brushes using a paper towel or an old rag. This step is crucial for minimizing the amount of solvent you’ll need, which is better for both your brushes and the environment.
Washing with Solvent
Dip the brush in a container of solvent. Gently swirl and press the bristles against the container’s base to release the paint. Be careful not to crush the brush bristles.
Rinsing and Repeating
Change the solvent when it becomes too cloudy. Repeat the washing process until no more color leaves the brush. Properly dispose of the used solvent according to local regulations to minimize environmental impact.
Final Wash with Soap
After the solvent wash, use a brush soap to remove any remaining oil or solvent. Lather the bristles gently and rinse with clean water. Repeat until the water runs clear.
Reshaping the Bristles
Gently use your fingers to shape the bristles back to their original form. This prevents them from drying in an odd or splayed shape, which can affect your future painting.
Drying the Brushes
Lay the brushes flat on a towel to dry. Avoid standing them upright as water can seep into the ferrule and loosen the bristles. Ensure they are completely dry before storing them.
Advanced Tips for Maintaining Brush Health
Using Natural Alternatives for Cleaning
For those looking for a more environmentally friendly option, consider using natural oils like linseed oil to clean brushes. Follow with a soap wash to remove any oily residue.
Storing Brushes Properly
Proper storage is as important as cleaning. Store brushes horizontally or hang them bristles down to prevent damage to the bristles or handle.
Conclusion
Cleaning your oil paint brushes properly is a cornerstone of effective paint management and brush maintenance. By following the above steps and tips, you can ensure that your brushes last longer and continue to perform at their best. This not only saves you money in the long run but also supports your artistic expression


